For Developers
Greetings, fellow devel! 🖖🏽
dynebolic welcomes contributions, big and small. You are here by invited to clone the repository localy and get yourself an account on the Devuan Gitea. For your convenience the repository is mirrored on GitHub. However, due to the ownership model of GitHub we encourage you to stick to the Devuan Gitea. From the Gitea interface you will be able to fork the repository and send Pull Requests. But you are welcome to ask for write permission in the bridged chat.
Source code
https://git.devuan.org/jaromil/dynebolic
Come talk to us
These channels are all bridge, meaning it doesn't matter whether you are using one or the other, you will be able to communicate with everyone.
The dynebolic SDK
Dynebolic Modules
System Development
Developing For The Desktop
The dynebolic SDK offers various workflows. To get the full list of targets, cd into your cloned repository and run make. This will present you with a list of Make targets that will help you contribute to the project.
Getting dynebolic development up and running
The two workflows Desktop devleopers are interested in are "Quick start":
 ----             __ Quick start:
 deps             🛠 Install development dependencies
 setup            📥 Download the latest development ROOT modules
 system           🗿 Build the root system: dyneIV-root
 iso              🏁 Create the current ISO image
 qemu             🖥 Emulate UEFI USB boot using qemu
 burn             🔥 Write the ISO to a removable USB=/dev/sd?
and "Snapshot testing"
 -----            __ Snapshot testing functions:
 snap-iso         🧨 Test a squashed snapshot as ISO FILE=path
 snap-mount       👀 Explore the contents of a snapshot FILE=path
 snap-umount      🔌 Stop exploring and unplug the snapshot
 test-changes     🍳 Test current changes in home and static
make commands need to be run as root. This can be achieved in different ways depending on your operating system.
To bootstrap your Desktop development environement, follow this sequence:
make deps(requires root)make setup(requires root)make system(requires root)make iso(requires root)
Each command will take a moment to complete and be quite verbose. Don't fear it. It might look scary, but your computer is talking to you, so listen!
Once you have ran all of the four commands, there will be a new file in your local repository called dynebolic.iso. This is an image of the dynebolic install disk.
You can now test it by running:
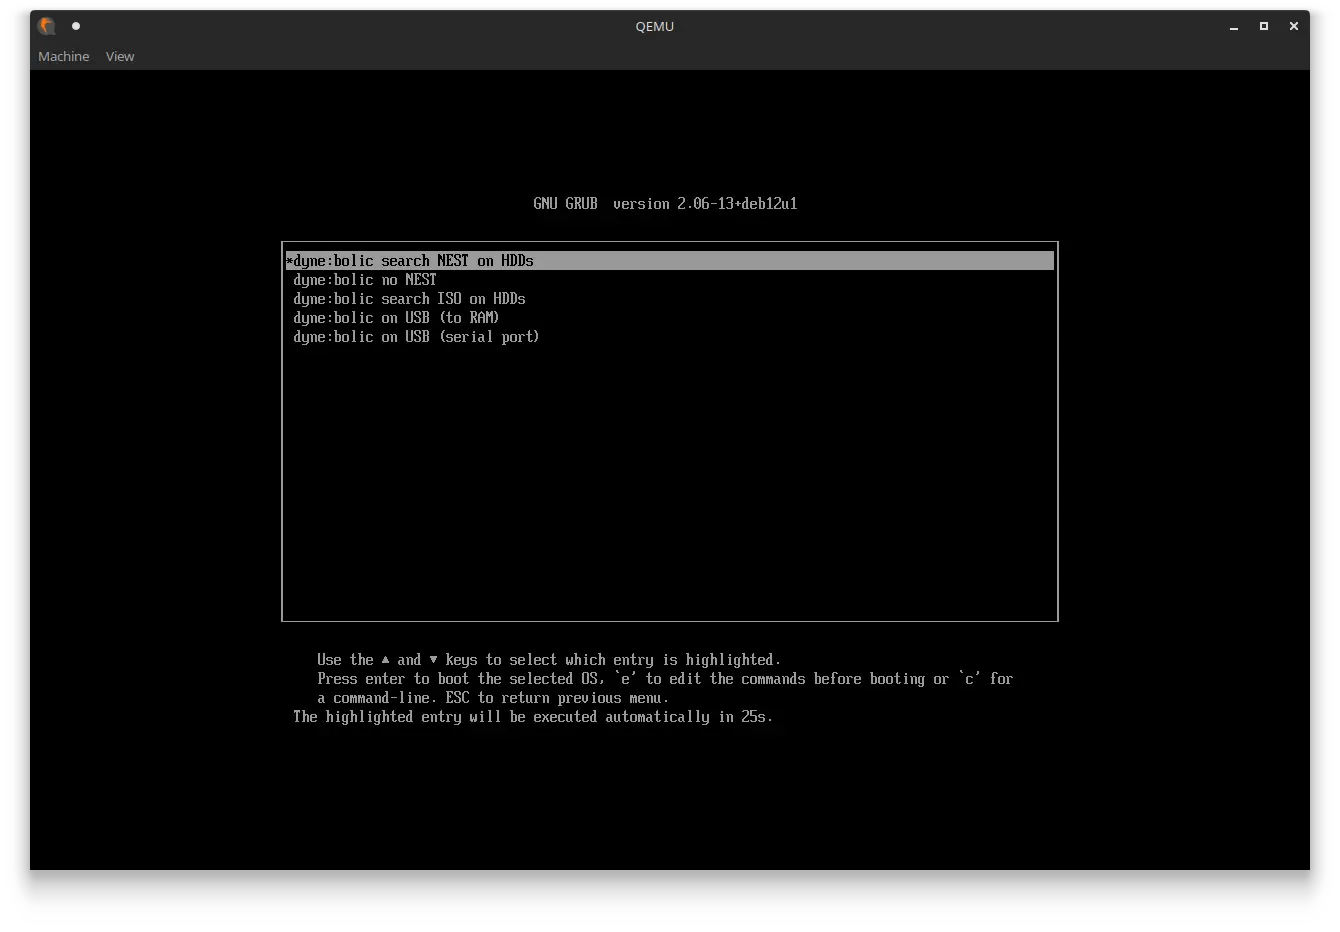
make qemu
This will start a virtual environement in which dynebolic will boot. If everything was made correctly, you will see the grub menu. Pick the first entry.
Soon see the desktop appear. Once it does, you can proceed and make changes to the desktop and then export them. Even though it is slightly more time consuming, it is advisable to make one change and export at the time.
Export changes
Once you have made the desired changes, from within the virutal d:b dekstop, start a terminal and become root. To do this type: su. The system will ask you for a password. The password is dyne. It will look like this:
dyne@dynebolic ~ ❯ su
Password:
root@dynebolic:/home/dyne#
The user changed to root, and you may now export your changes. To do this, type:
dyne-snapshot
Accept the identity of the remote server, by typing yes and hitting enter.
This will fetch any modified file, package them into a single file and upload them to the snapshot server. You will be presented with a URL. Using this method, you won't be able to copy it from your virtual machine to your machine. To fetch this snapshot, either use the QR code with your phone to transfer it to yourself. Or head over to the snapshot server and sort the files by "Last Modified".
Inspecting changes to commit them.
Terminate the virutal machine for now. To inspect your snapshot, download your snapshot to the root of your cloned repository and mount it.
sudo su(become root)make snap-mount FILE=/path/to/your-snapshot-file
This will create a folder in the root of your cloned repository called "snap-mount" containing all the modified files. Navigate into it and run ncdu.
cd snap-mount
ncdu
This will show you a browser like view where you can browse through the modified files. To close it, hit the "Q" key on your keyboard
Still as root, copy the files you are interested in to a different folder:
mkdir ../snap-exportcreate folder.cp -ra . ../snap-exportcopy all files recursivelychown -R 1000:1000 ../snap-exporttransfer ownership of the copied file to your own user.make snap-umountunmount the snapshot from the file system ⚠️
In the root of your cloned repository, there is a folder called static. This is where the configuration files for the desktop and system are residing. Copy over the files to this folder following the same structure. If your file is snap-export/home/dyne/.config/my-amazing-settings.conf, move it to static/home/dyne/.config/my-amazing-settings.conf
Once you have done this, you need to make sure that your changes are going to give the desired effect. This because, maybe you forgot something? Maybe there are more files responsible for the changes you want?
make test-changes
This will launch a virtual machine taking into account your changes. When the desktop appears, you should be able to see your changes. If you do, commit them to the repository:
git add path/to/changed.filegit commit -m "write a description of your changes in present tense here"git push
Appendices
Appendix I: A Brief History of dynebolic
- Context (technological, social, political) of first release of dynebolic
- Evolution of dynebolic
- Dynebolic now.
The first edition of dynebolic was released